Loading page
Core line, represented 25+ years
Plastic injection molding
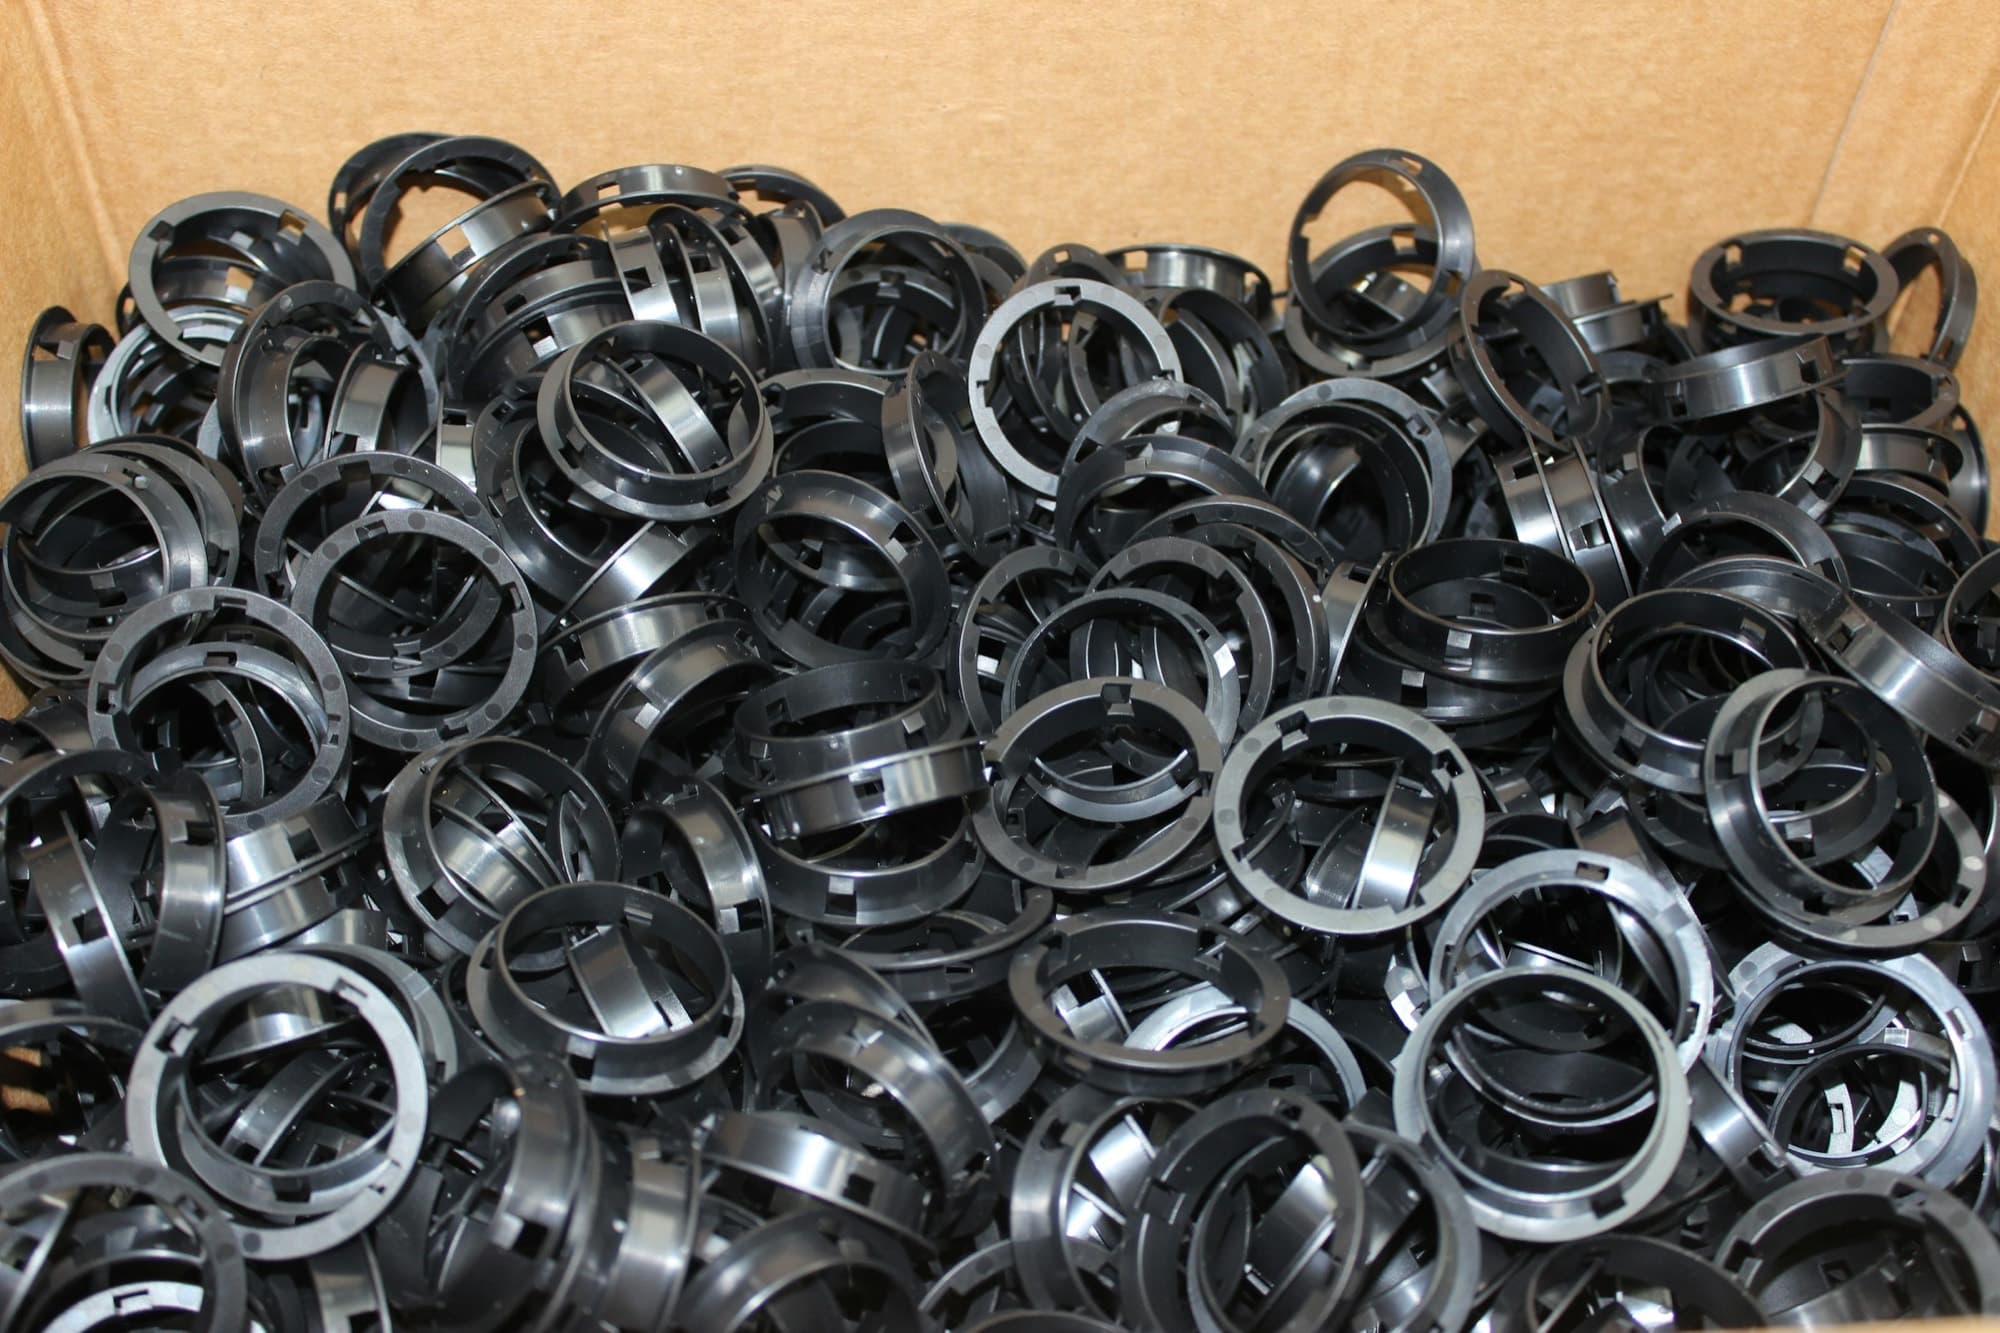
Plastic injection molding is a process that melts thermoplastic pellets and injects them under pressure into a machined steel or aluminum mold, where the part cools and ejects. Cycle times typically run 15–60 seconds, so piece prices drop sharply once tooling is paid for. It is the default choice for plastic parts above roughly 5,000 units a year.
Where it pays off
1101001k10k100k1M+
At a glance
Aluminum tools make 1,000–10,000 part runs practical. Multi-cavity hardened steel pays off above about 100,000 parts a year.
- Typical tolerance
- ±0.005 in (±0.13 mm); ±0.002 in (±0.05 mm) on small critical features
- Nominal wall thickness
- 0.040–0.150 in (1.0–3.8 mm), resin dependent
- Minimum wall
- About 0.020 in (0.5 mm) over short flow lengths
- Part size
- Most parts under 12 in (300 mm); large-tonnage presses mold parts to 60 in (1.5 m)
- Press range
- 50–1,000 tons typical; about 2–5 tons per in² of projected area
- Cycle time
- 15–60 seconds typical
- Surface finish
- SPI A-1 mirror (Ra 0.5–1 µin / 0.012–0.025 µm) through SPI D-3 or textured
- Mold life
- Aluminum 10,000–100,000 shots; P20 250,000–500,000; hardened H13 1,000,000+ (SPI Class 101)
- Tooling lead time
- 3–6 weeks aluminum; 8–14 weeks hardened steel
Lead time
- Tooling
- 3–14 weeks
- First article
- 1–2 weeks after tool completion
- Production
- 2–4 weeks per release
What would it cost?
The builder's estimator on a representative housing. Change a size, the quantity or the material and the price updates.
Housing · Injection molding
Order total $24,973
- Tooling
- $17,029
- one-time, spread over the order
- Piece price
- $0.76
- before setup + tooling
- Lead time
- 6–9 weeks
- to first production
Size
Drag a row to adjust · click to type
Length140140 mm
Width90.090.0 mm
Wall2.202.20 mm
Quantity
Price per part falls as volume rises
Exact quantity1000010000 pcs
Material
Design checks pass
Open in builderBudgetary estimate for a representative part. Firm quotes come from principals after drawing review.
How does it work?
5 steps from drawing to production parts.
- 1
DFM review and mold flow
The part model is checked for draft, wall thickness, gate location, and undercuts. Mold flow analysis predicts fill, weld lines, and warp before steel is cut.
- 2
Tool build
A toolmaker machines the core and cavity from aluminum, P20, or H13 steel, then adds cooling lines, ejector pins, and any slides or lifters.
- 3
Sampling (T1)
The mold is hung in a press and first shots are measured against the print. Steel is adjusted until parts are in tolerance.
- 4
Process validation
Melt temperature, injection pressure, hold time, and cooling time are locked into a documented window. First article inspection or PPAP records capability.
- 5
Production
Dried resin is melted, injected, cooled, and ejected in a 15–60 second cycle. Parts are degated, inspected, and packed.
When is injection molding the right call?
Best for
- Plastic parts at 5,000 to 1,000,000+ units a year
- Housings, enclosures, bezels, and covers
- Snap fits, living hinges, and molded-in bosses
- Parts that need consistent dimensions shot to shot
- Replacing multi-piece metal assemblies with one molded part
Pick something else when
- Runs under about 500 parts: urethane casting or additive manufacturing costs less
- Solid sections thicker than 0.25 in (6 mm): core them out or use CNC machining
- Large, low-volume panels and enclosures: sheet metal fabrication avoids a large mold
- Structural parts that need metal stiffness at temperature: consider die casting
Materials
12 materials principals run in injection molding. Pick one for design rules, finishes and an estimate in that material.


Design rules that keep the price down
0.040–0.150 in (1.0–3.8 mm) nominal, varying no more than about 15%
Keep walls uniform
Uneven walls cool at different rates and cause sink, voids, and warp.
1–2° typical, 0.5° minimum on polished walls, plus 1–1.5° per 0.001 in (0.025 mm) of texture depth
Add draft in the line of draw
Draft lets the part release without drag marks or ejector damage.
Rib thickness 50–60% of the adjoining wall; height no more than 3× wall
Size ribs to the wall
Thicker ribs leave sink marks on the opposite face.
Inside radius at least 0.5× wall; outside radius equals inside radius plus wall
Radius inside corners
Sharp corners concentrate stress and restrict resin flow.
Boss wall no more than 60% of nominal wall; boss OD about 2× hole ID
Design bosses to avoid sink
Keeps sink off the show surface while holding screw retention.
Keep any section under 0.25 in (6 mm)
Core out thick sections
Thick sections extend cooling time and create voids and sink.
Each slide or lifter typically adds $1,000–$5,000 to tool cost
Limit undercuts
Side actions add build time, maintenance, and cycle time.
Amorphous resins shrink about 0.4–0.8%; semi-crystalline PP, POM, and PA shrink about 1.5–2.5%
Set tolerances by resin
Higher, less predictable shrink in semi-crystalline resins needs looser limits.
What drives the cost?
In order of impact.
- 1
Tooling
The mold is usually the largest single cost. Cavity count, steel grade, slides, lifters, and hot runners drive it more than part size.
- 2
Cycle time
Cooling is typically 50–80% of the cycle and grows with the square of wall thickness. Thinner, uniform walls cut piece price directly.
- 3
Press size
Projected area sets clamp tonnage, and larger presses bill higher hourly rates. A 500-ton press often costs two to three times as much per hour as a 100-ton press.
- 4
Resin
Polypropylene runs about $1 per lb, polycarbonate and glass-filled nylon about $2–$5, and PEEK $40 or more. Specialty colors and flame-retardant grades add cost.
- 5
Tolerance and cosmetic grade
Tight tolerances need more tool iterations and tighter process control. SPI A-grade polish and Class A cosmetic surfaces add hand work to the tool.
- 6
Secondary operations
Inserts, pad printing, painting, and assembly add labor. Designing features into the mold is usually cheaper than adding them after.
Variants
- Insert molding
- Plastic is molded around a pre-placed metal insert such as a threaded bushing, pin, or terminal. It removes a press-in step and improves pull-out strength.
- Overmolding
- A second material, usually TPE, is molded over a rigid substrate for grips, seals, and soft-touch surfaces. It can run in a second tool or a second press.
- Two-shot molding
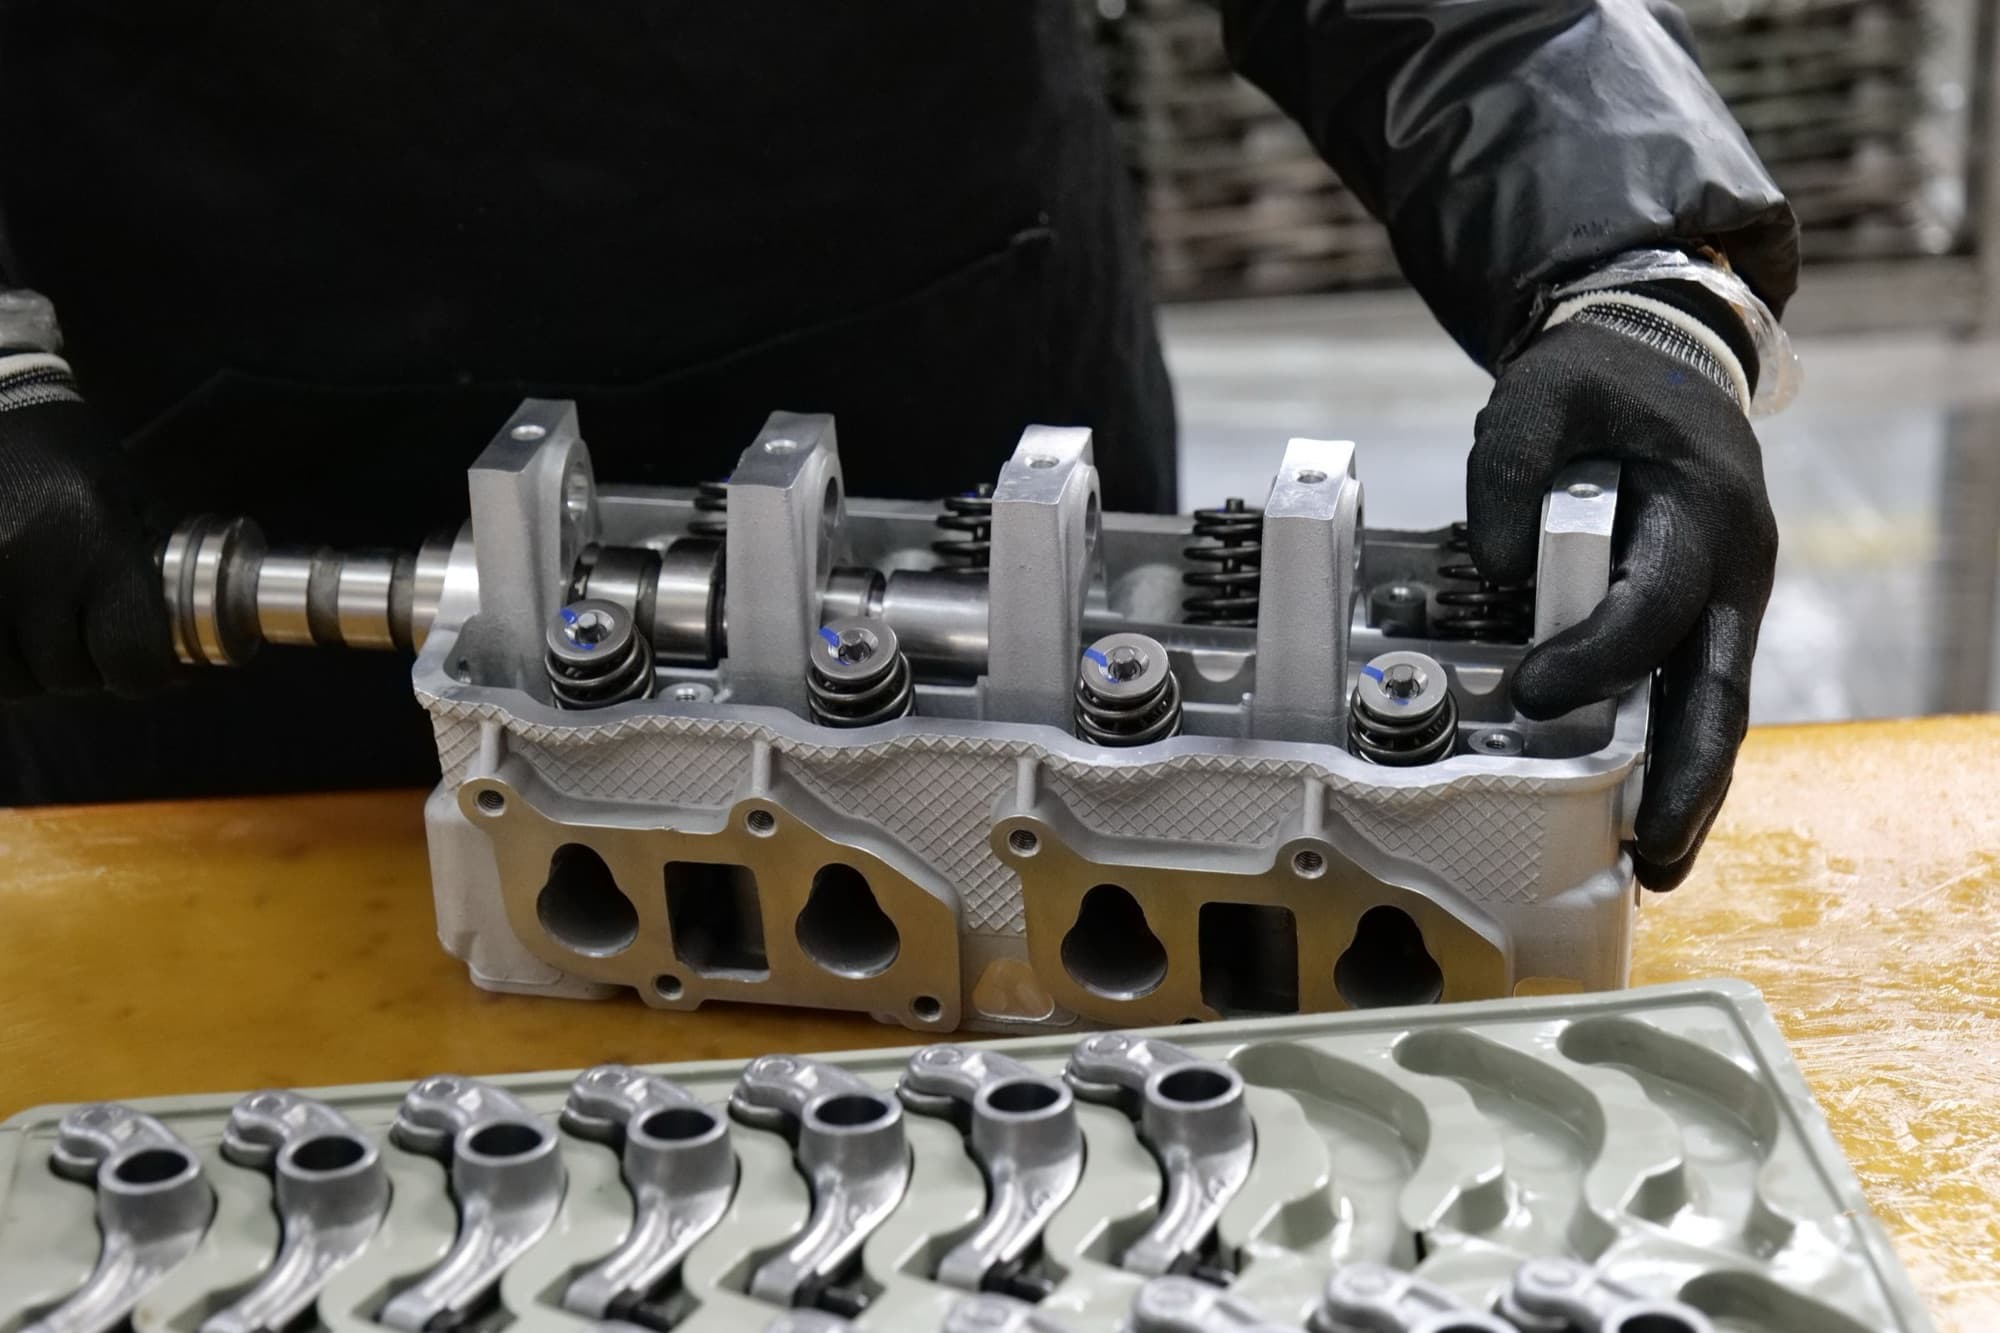
- Two resins are injected in sequence in one press using a rotating platen or core-back tool. It gives the strongest bond and lowest labor for high-volume multi-material parts.
- Gas-assist molding
- Nitrogen is injected into thick sections to hollow them from the inside. It reduces sink, weight, and cycle time on handles and thick-walled parts.
- Multi-cavity and family tools
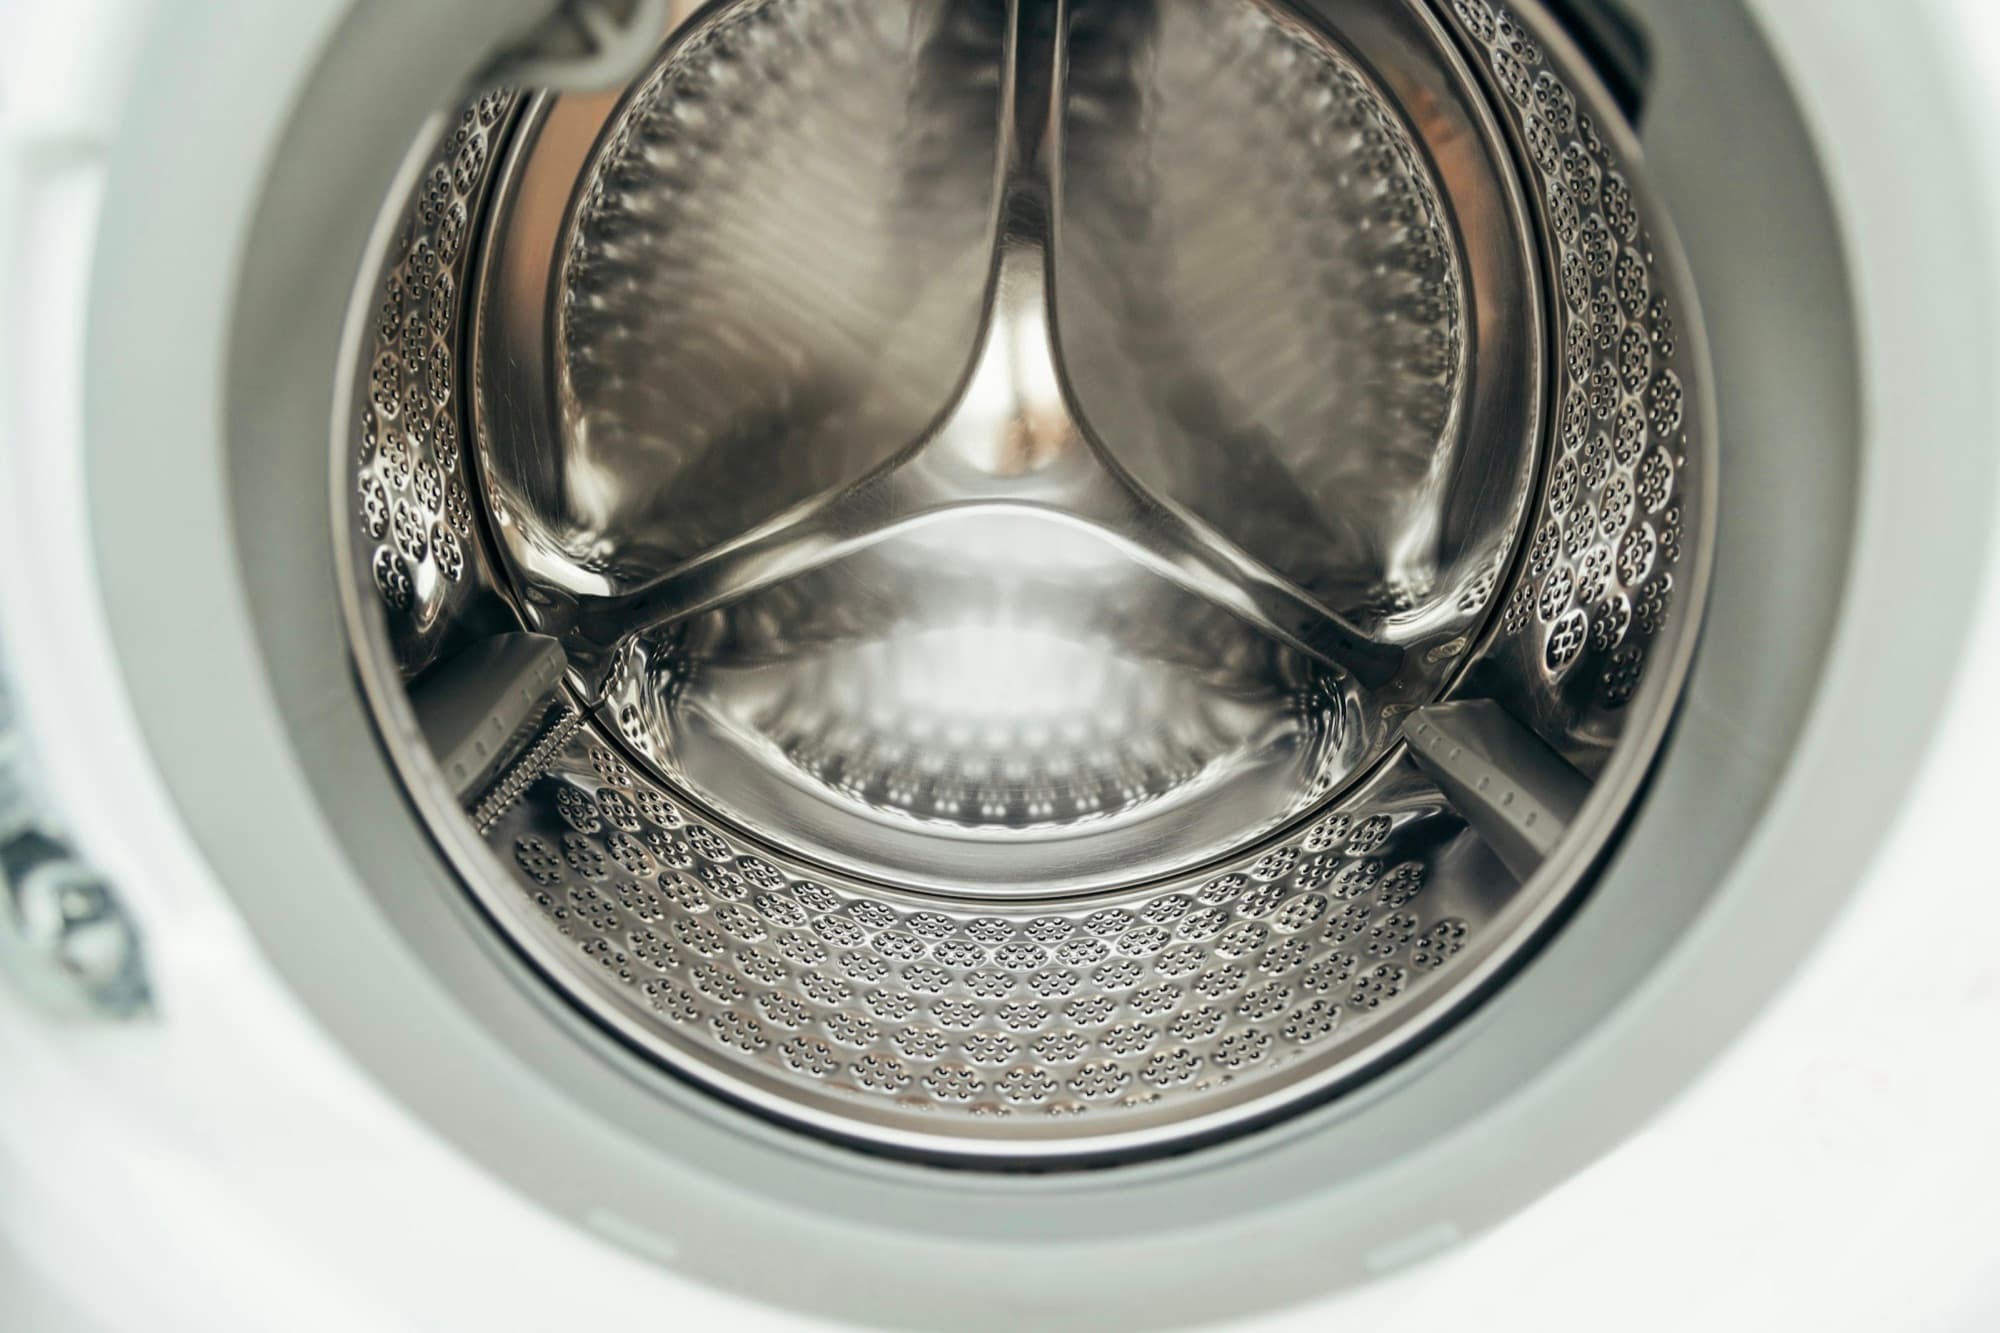
- Multi-cavity tools make 2–64 identical parts per shot; family tools make related parts together. More cavities raise tool cost and lower piece price.



Go deeper
- Injection molding design guide: walls, draft, ribs, gates6 min
Wall thickness by resin, draft angles, rib and boss ratios, gate placement, and tolerances for injection molded parts, with the numbers molders design to.
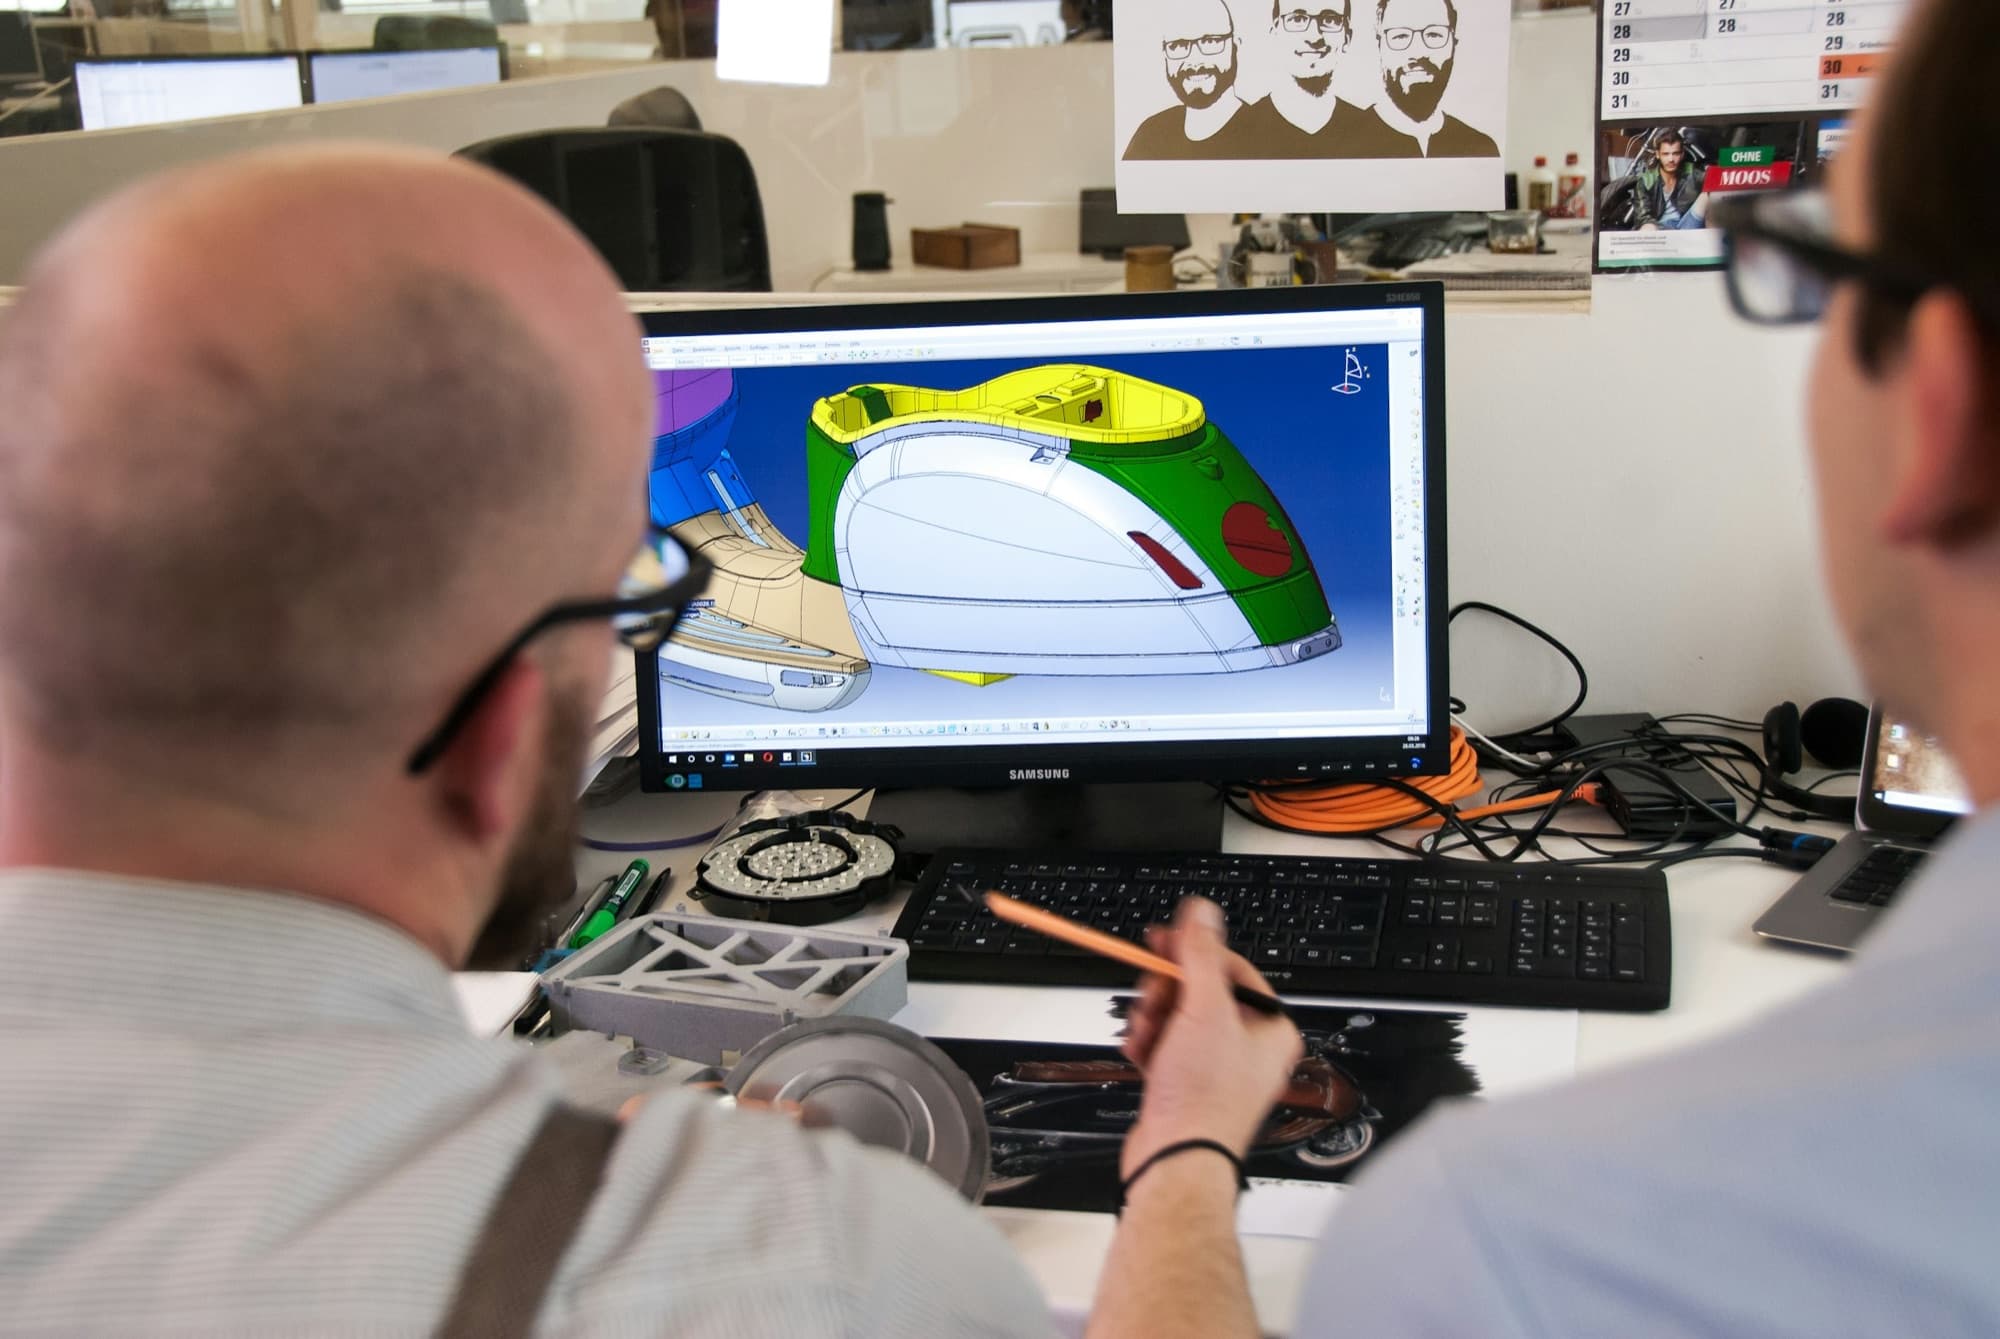 Injection molding design review: resin and DFM checklist6 min
A pre-tooling checklist for injection molded parts: resin selection, wall and draft review, gates and knit lines, tolerances, mold flow, and the RFQ package.
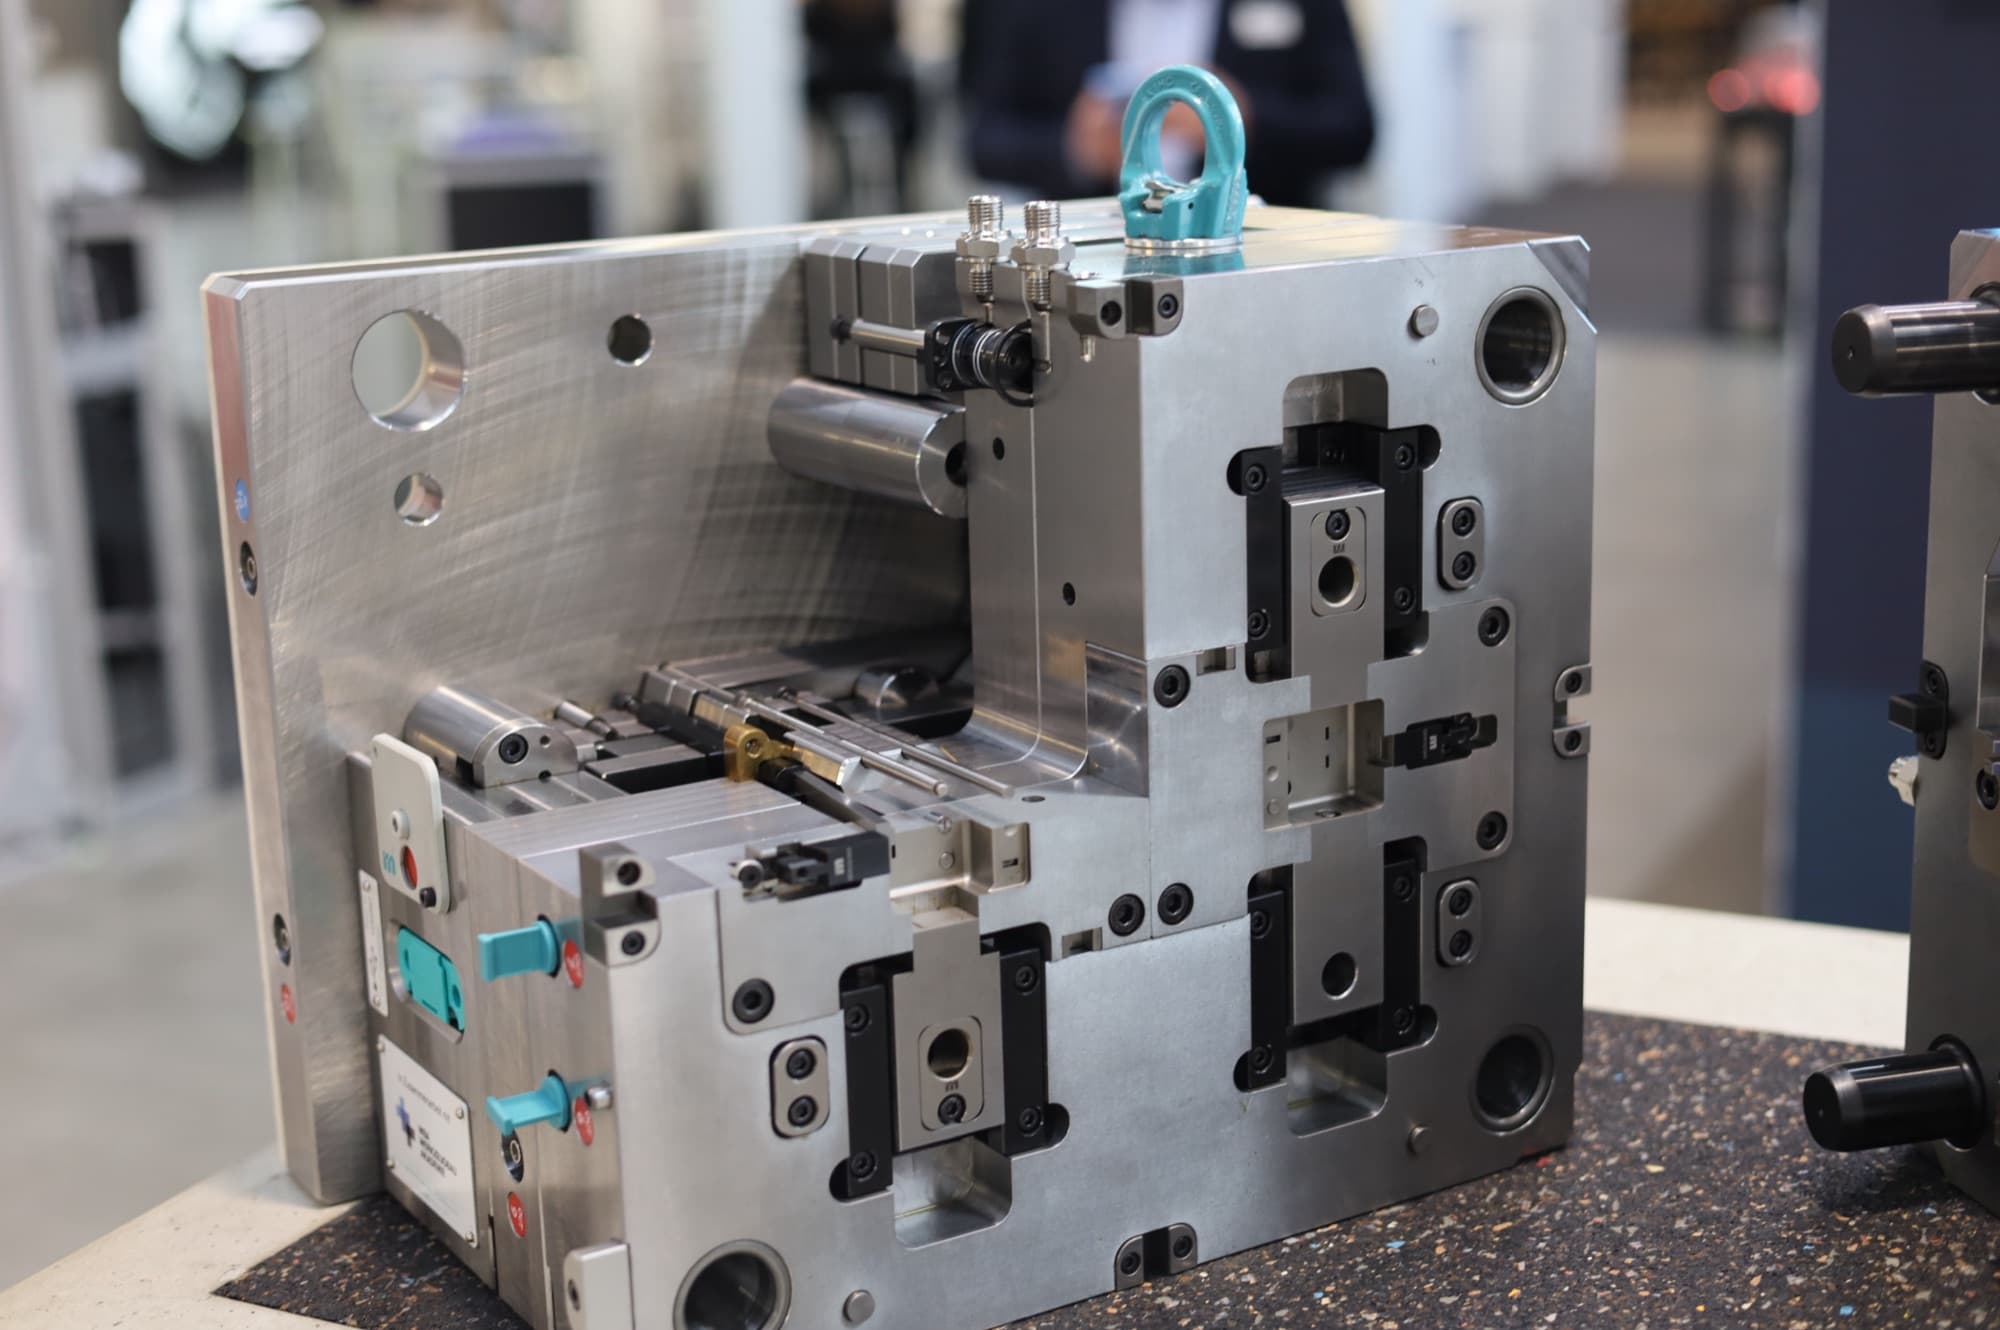 How much does an injection mold cost?6 min
Injection mold cost by SPI class 101–105, cavitation, steel (P20, H13, S7, 7075 aluminum), hot vs cold runner, amortization math, and what drives piece price.
Injection molding questions
How much does an injection mold cost?
A simple single-cavity aluminum prototype tool typically costs $3,000–$15,000. A single-cavity P20 steel production tool runs roughly $10,000–$40,000, and a multi-cavity hardened steel tool with slides or hot runners can reach $50,000–$150,000 or more. Cavity count, side actions, and steel grade matter more than part size.
What tolerances can injection molding hold?
A general tolerance of ±0.005 in (±0.13 mm) is typical on features under about 1 in (25 mm). Critical features can hold ±0.002 in (±0.05 mm) with tuned steel and a stable process. Semi-crystalline resins such as polypropylene and acetal shrink more and need looser limits.
What is the minimum order for injection molded parts?
There is no hard minimum, but tooling cost makes runs under about 1,000 parts expensive per piece. Aluminum tools make 1,000–10,000 part runs practical. Below that, urethane casting or additive manufacturing is usually cheaper.
How long does it take to get injection molded parts?
Aluminum tools typically take 3–6 weeks and hardened steel production tools 8–14 weeks. Add 1–2 weeks for sampling and adjustments. Production releases then ship in 2–4 weeks.
Who owns the injection mold?
In most US programs the buyer pays for the mold and owns it, while the molder stores and maintains it. Ownership, maintenance responsibility, and transfer terms should be written into the purchase order.
Should I choose an aluminum or steel mold?
Choose aluminum for prototypes, bridge tooling, and lifetime volumes under about 100,000 parts in non-abrasive resins. Choose P20 or hardened H13 steel for higher volumes, glass-filled resins, and tight long-term tolerances. Aluminum cuts and cools faster but wears faster.
Related processes
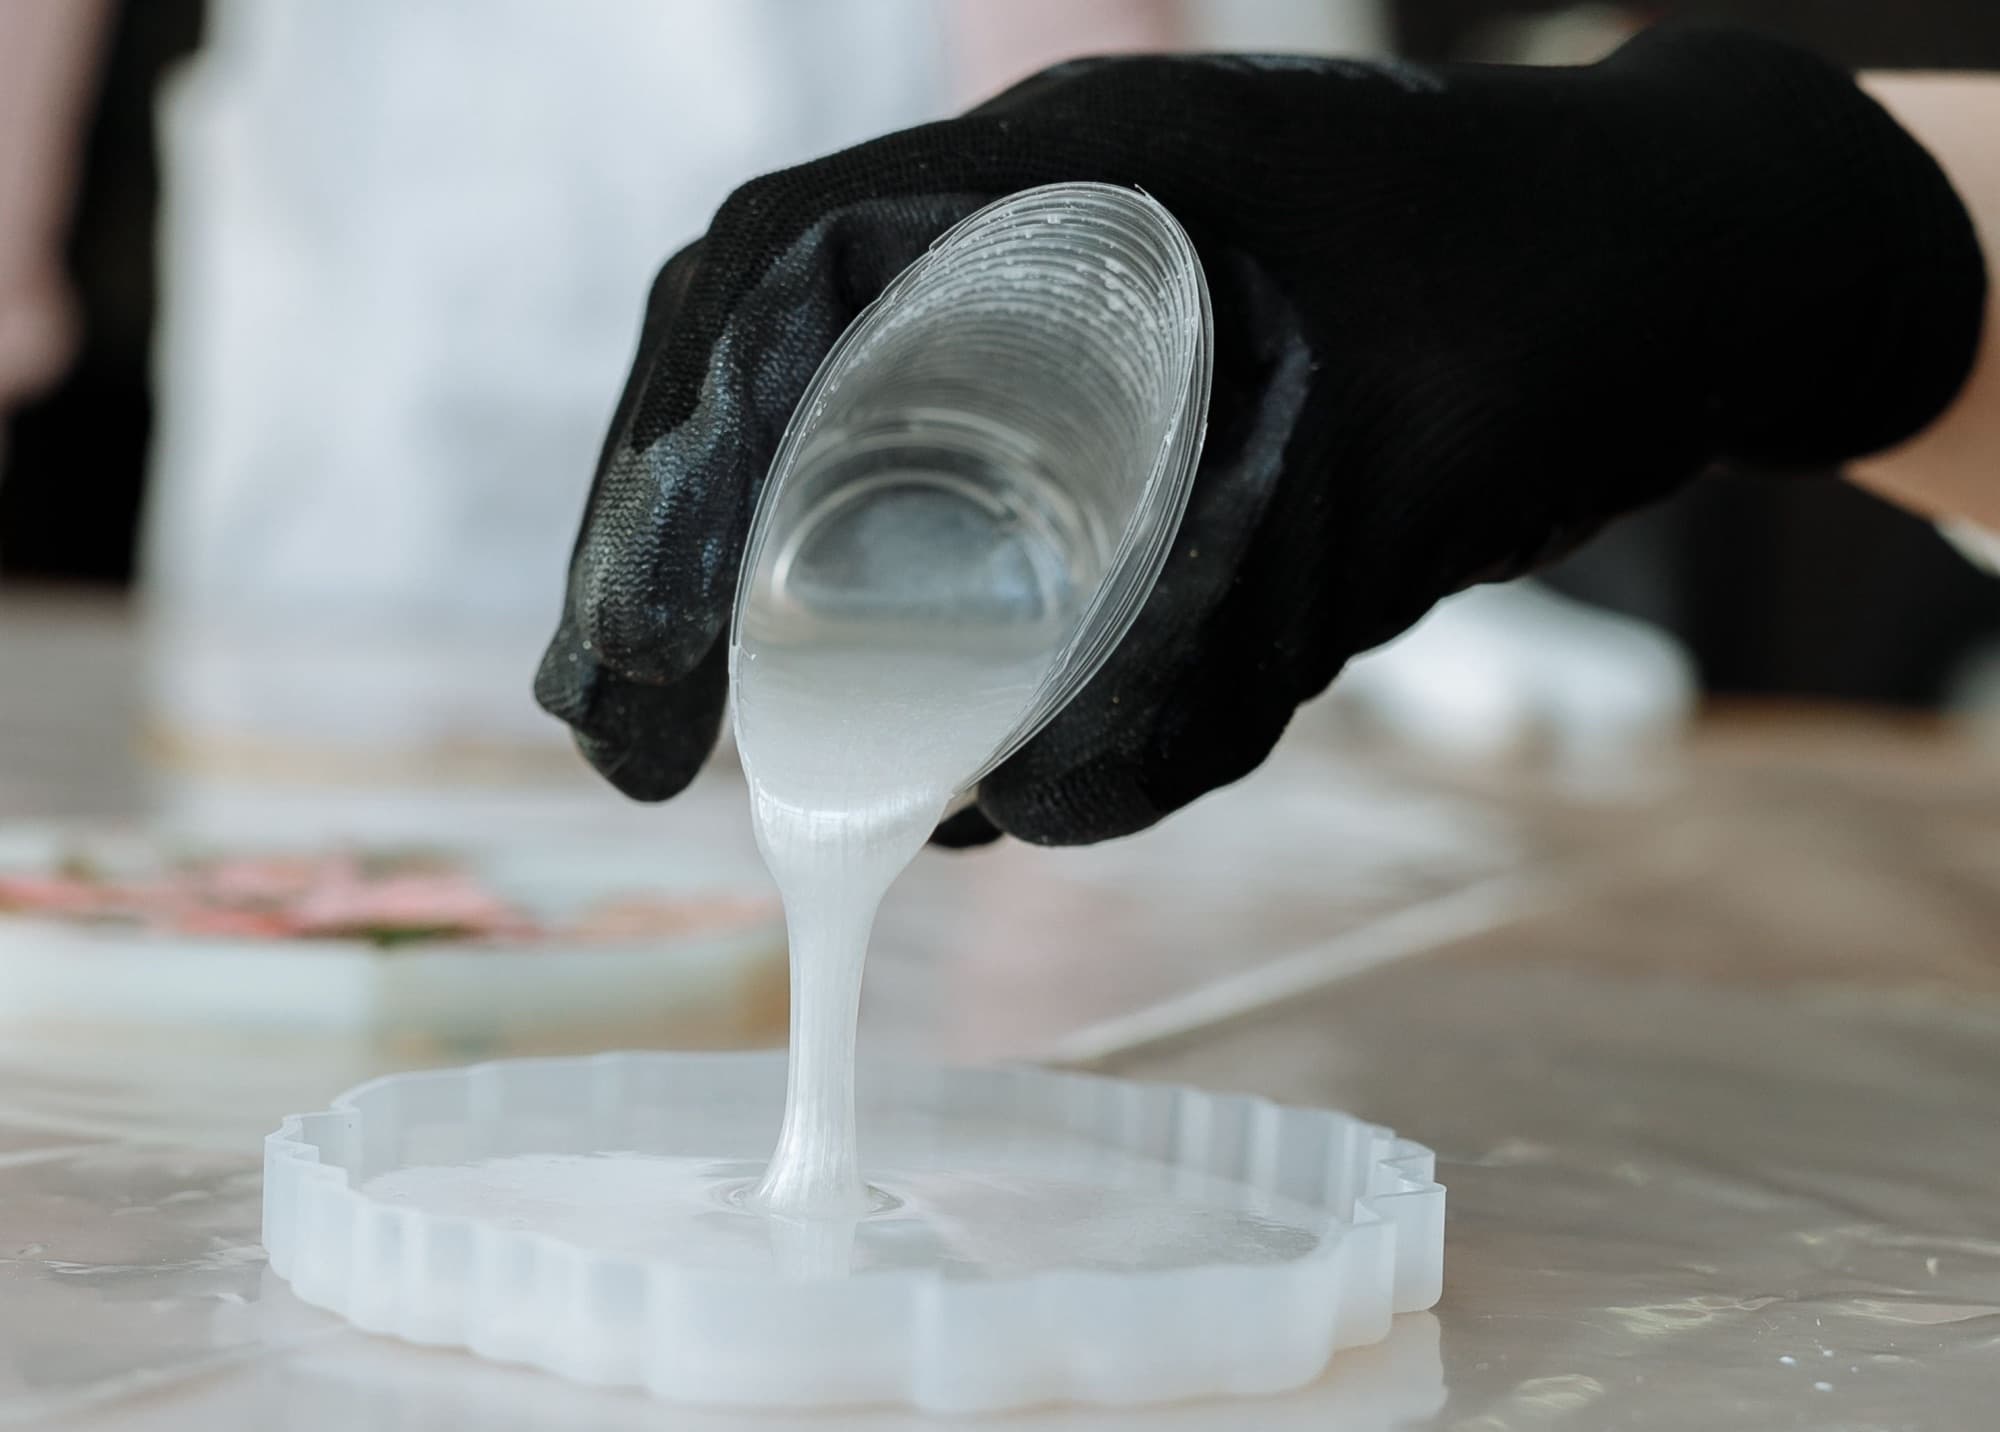 Urethane casting
Production-like plastic and rubber parts cast in silicone molds, typically 10–200 parts in one to two weeks.
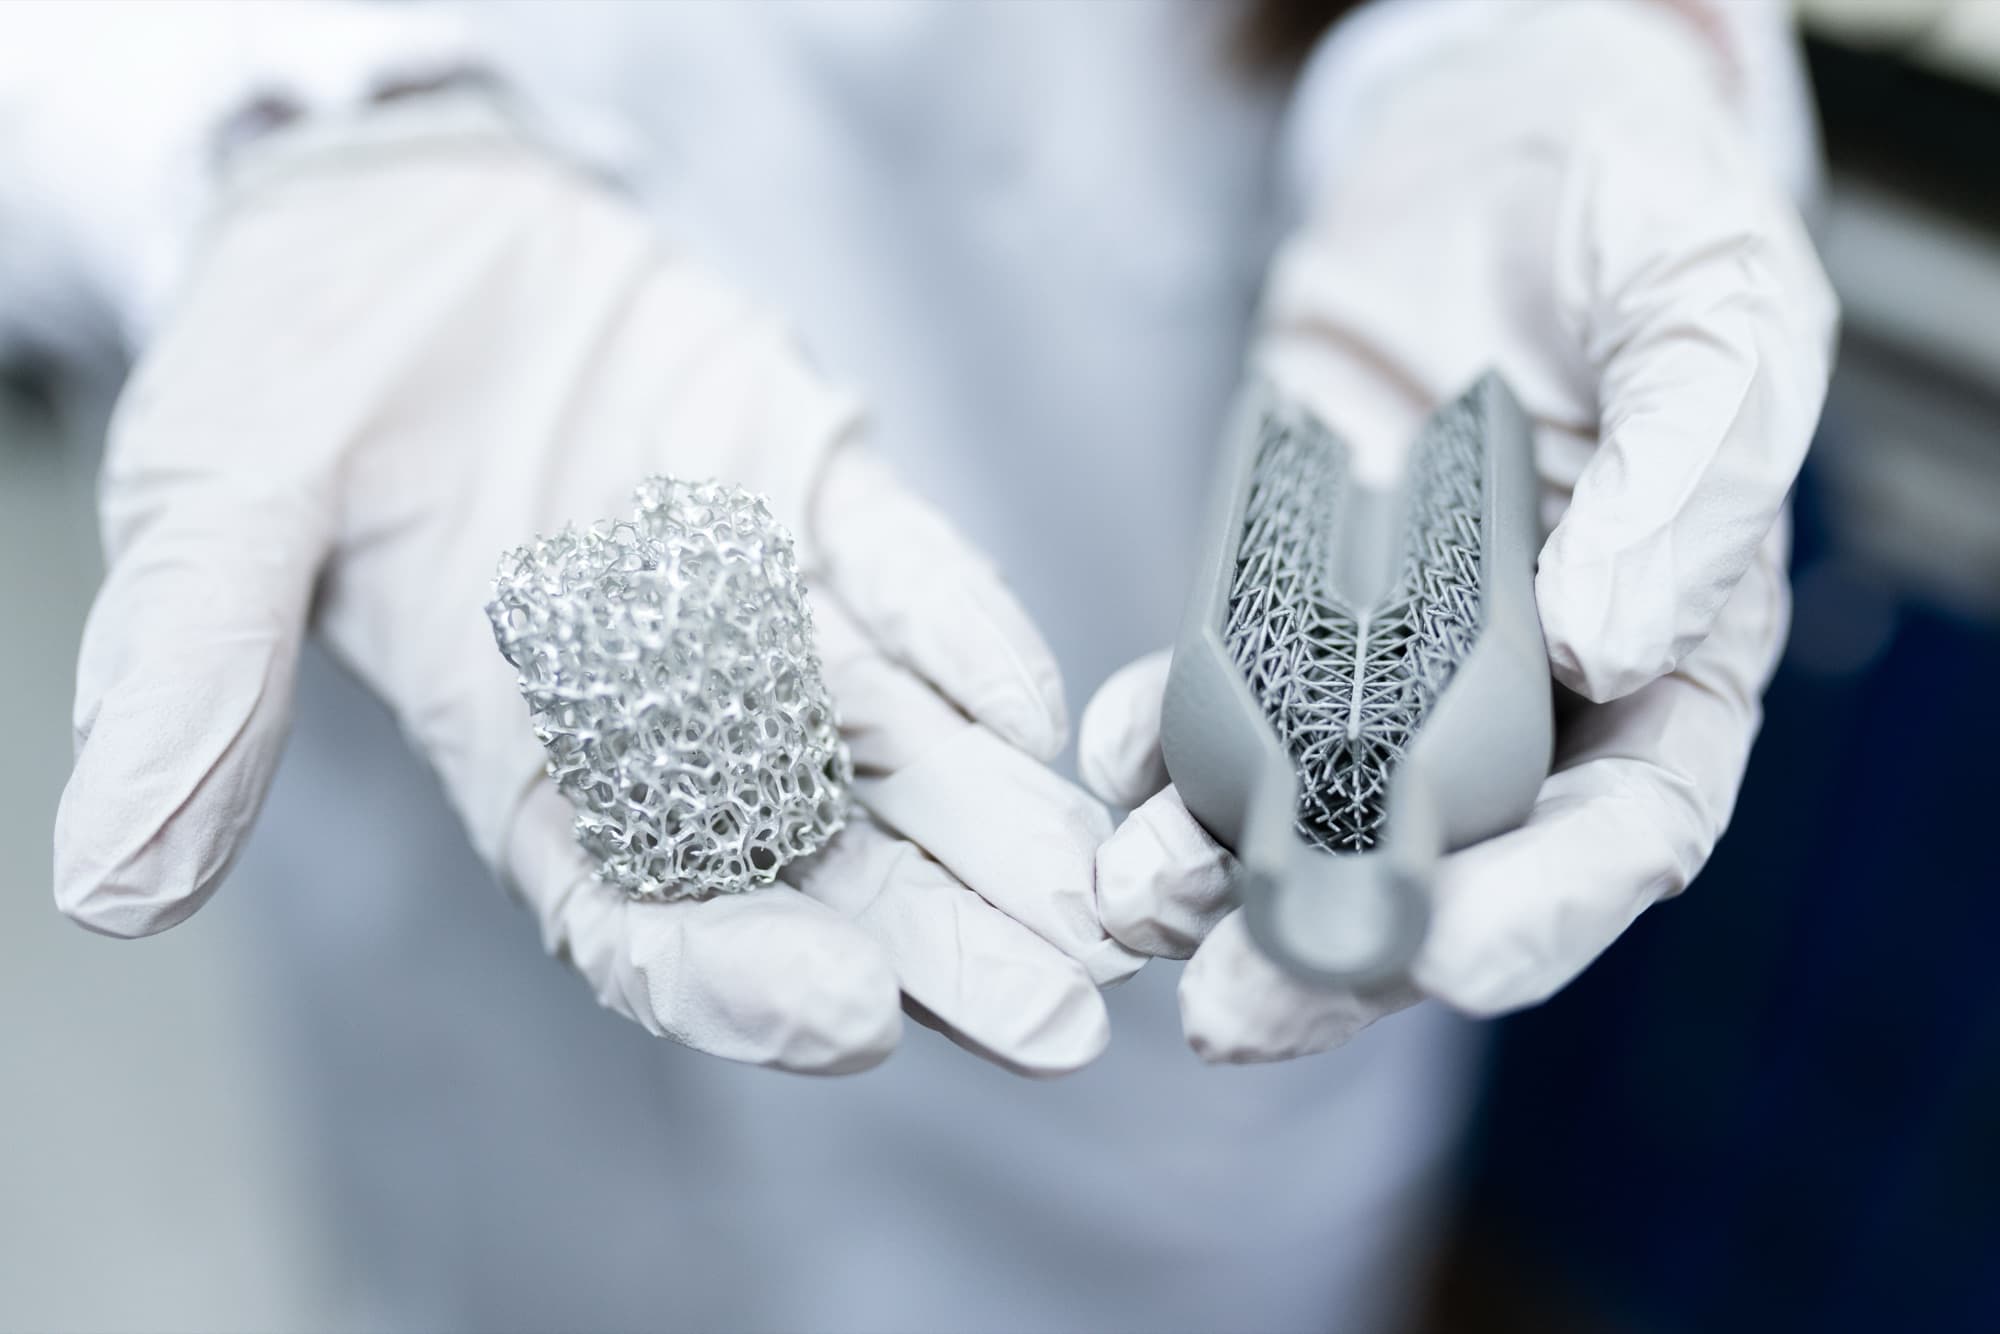 3D printing
SLS, MJF, SLA, FDM, and metal printing for prototypes, fixtures, and low-volume production parts.
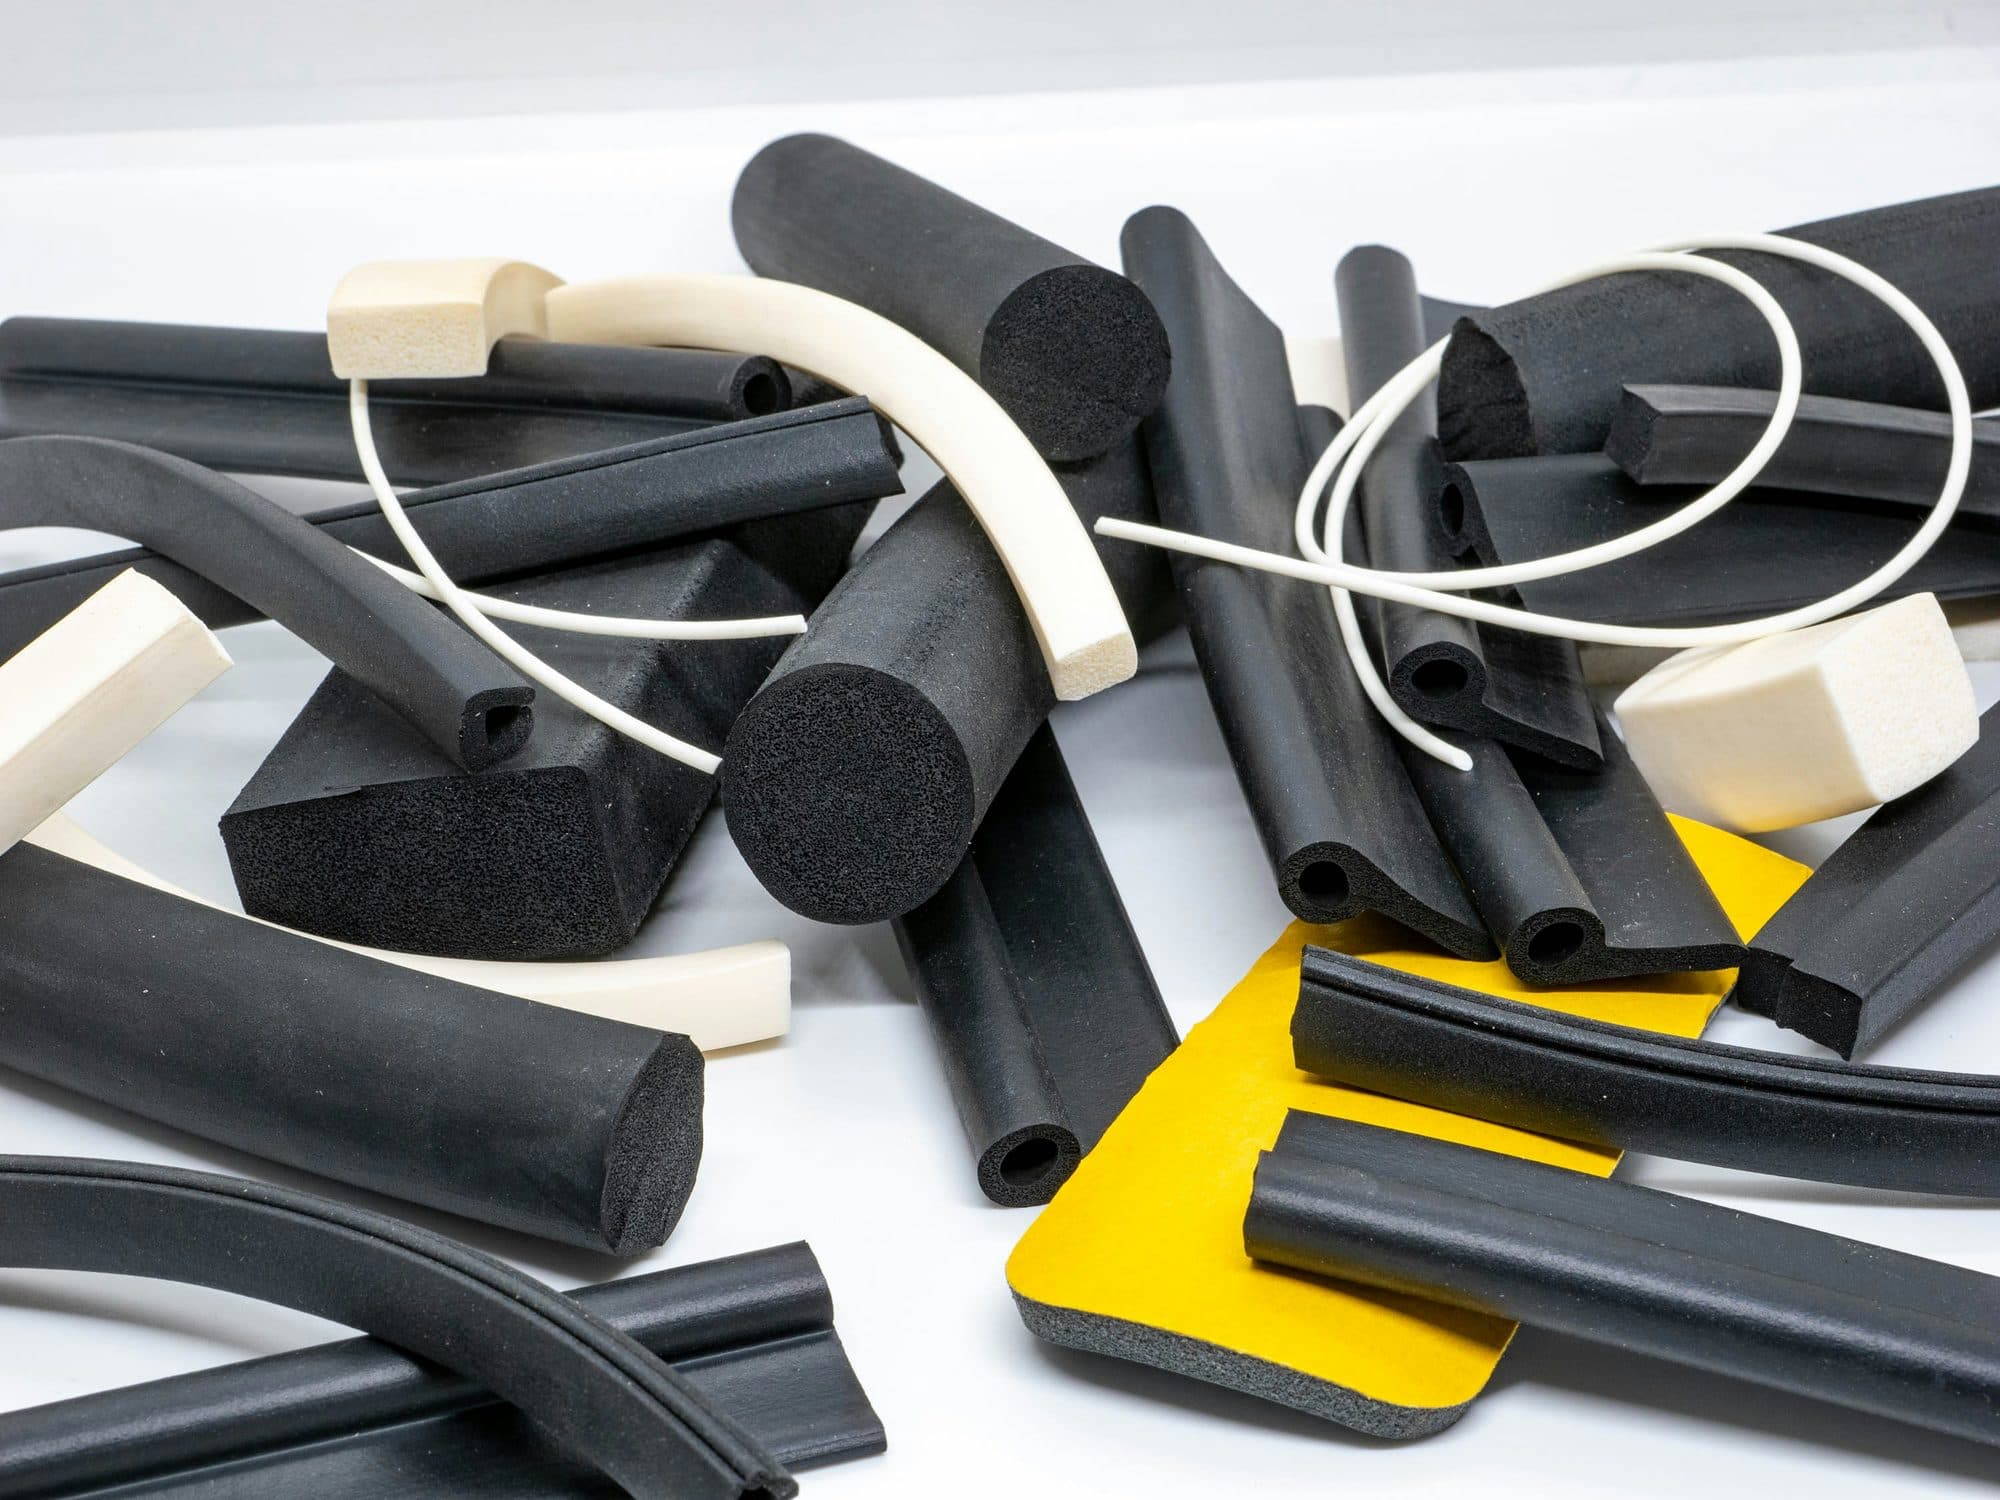 Rubber
Seals, gaskets, grommets, and profiles extruded or molded in EPDM, silicone, nitrile, neoprene, FKM, and TPE.
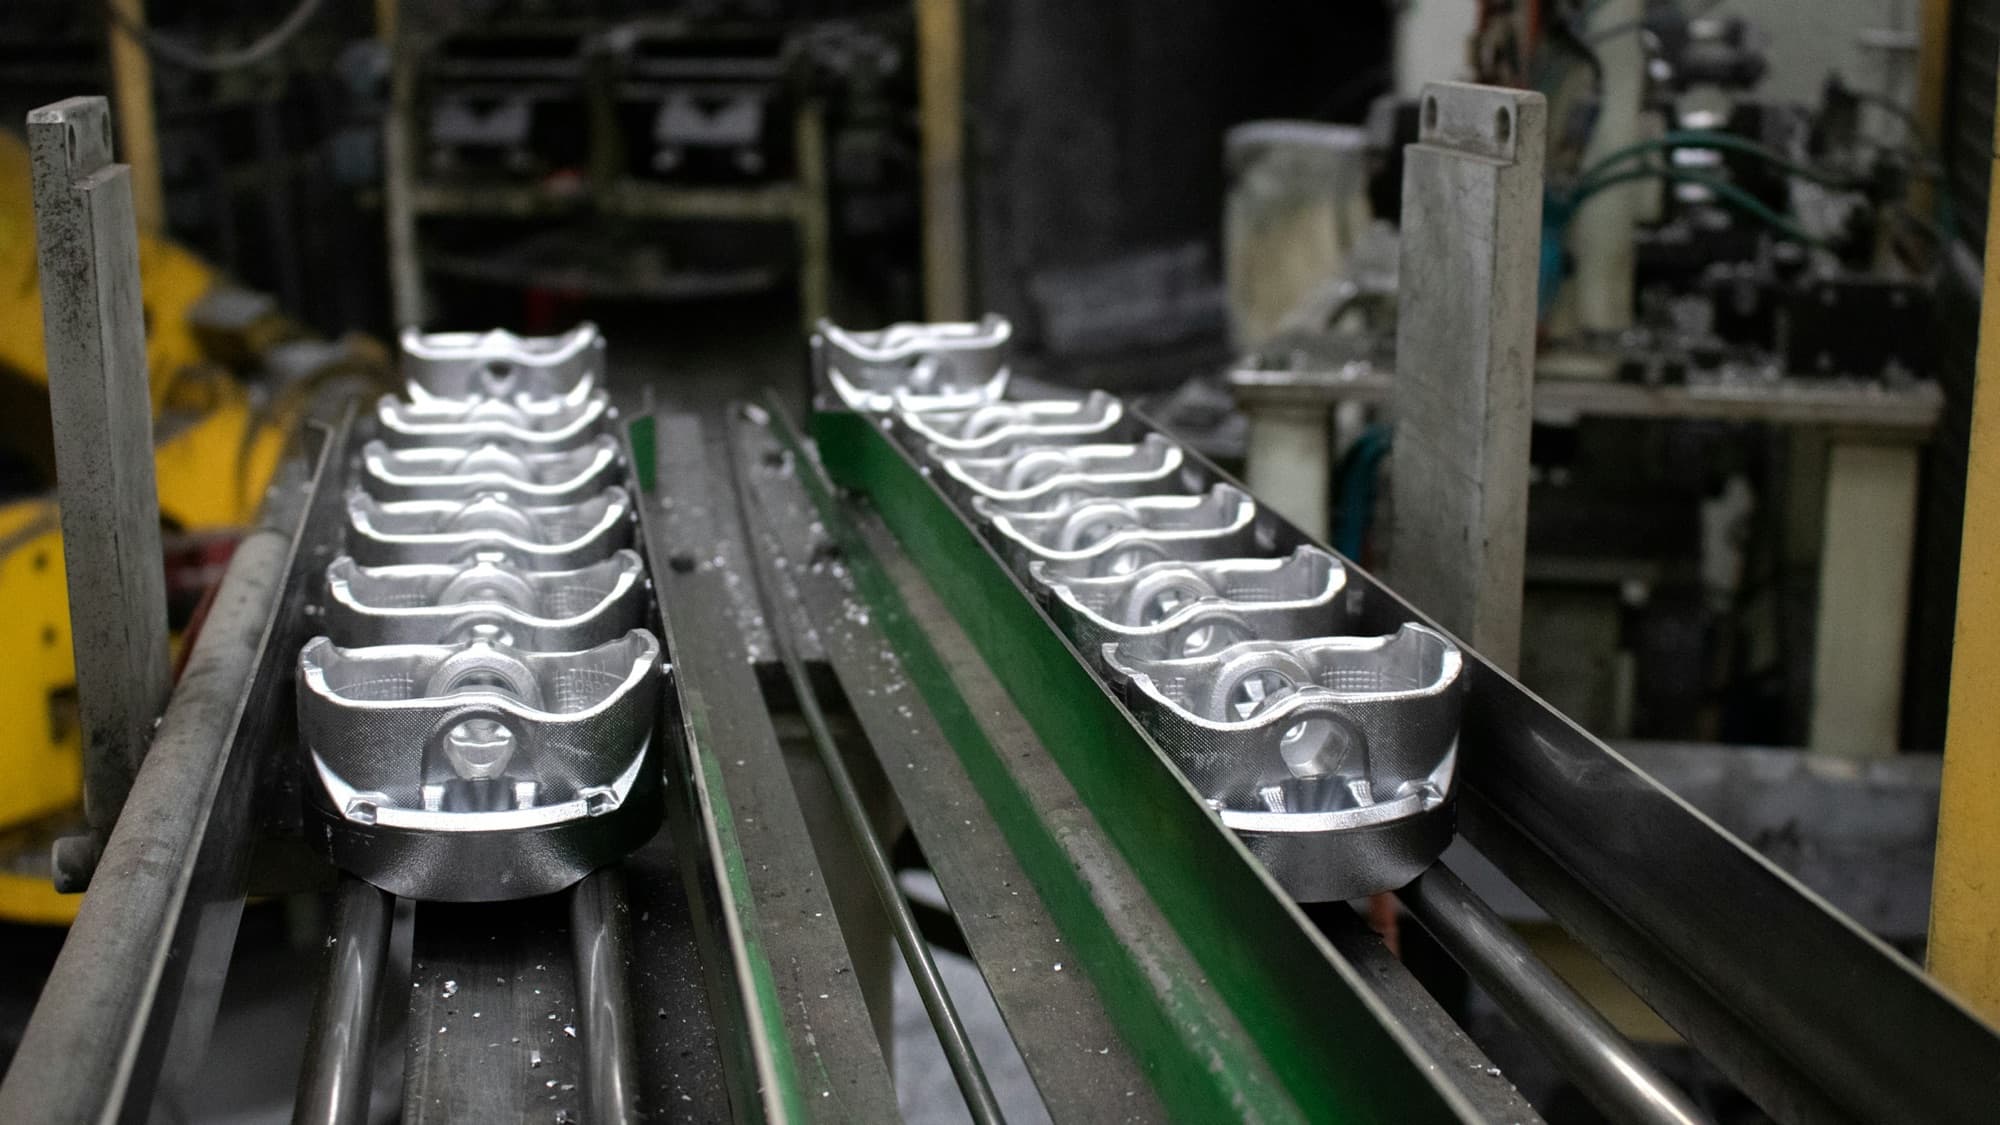 Die casting
Molten zinc or aluminum injected into steel dies at high pressure. Thin walls and net shape at 2,500+ parts a year.
Quote injection molding today.
Drop a STEP file for an instant estimate and DFM check. A rep routes the RFQ to principals who run this process every day.