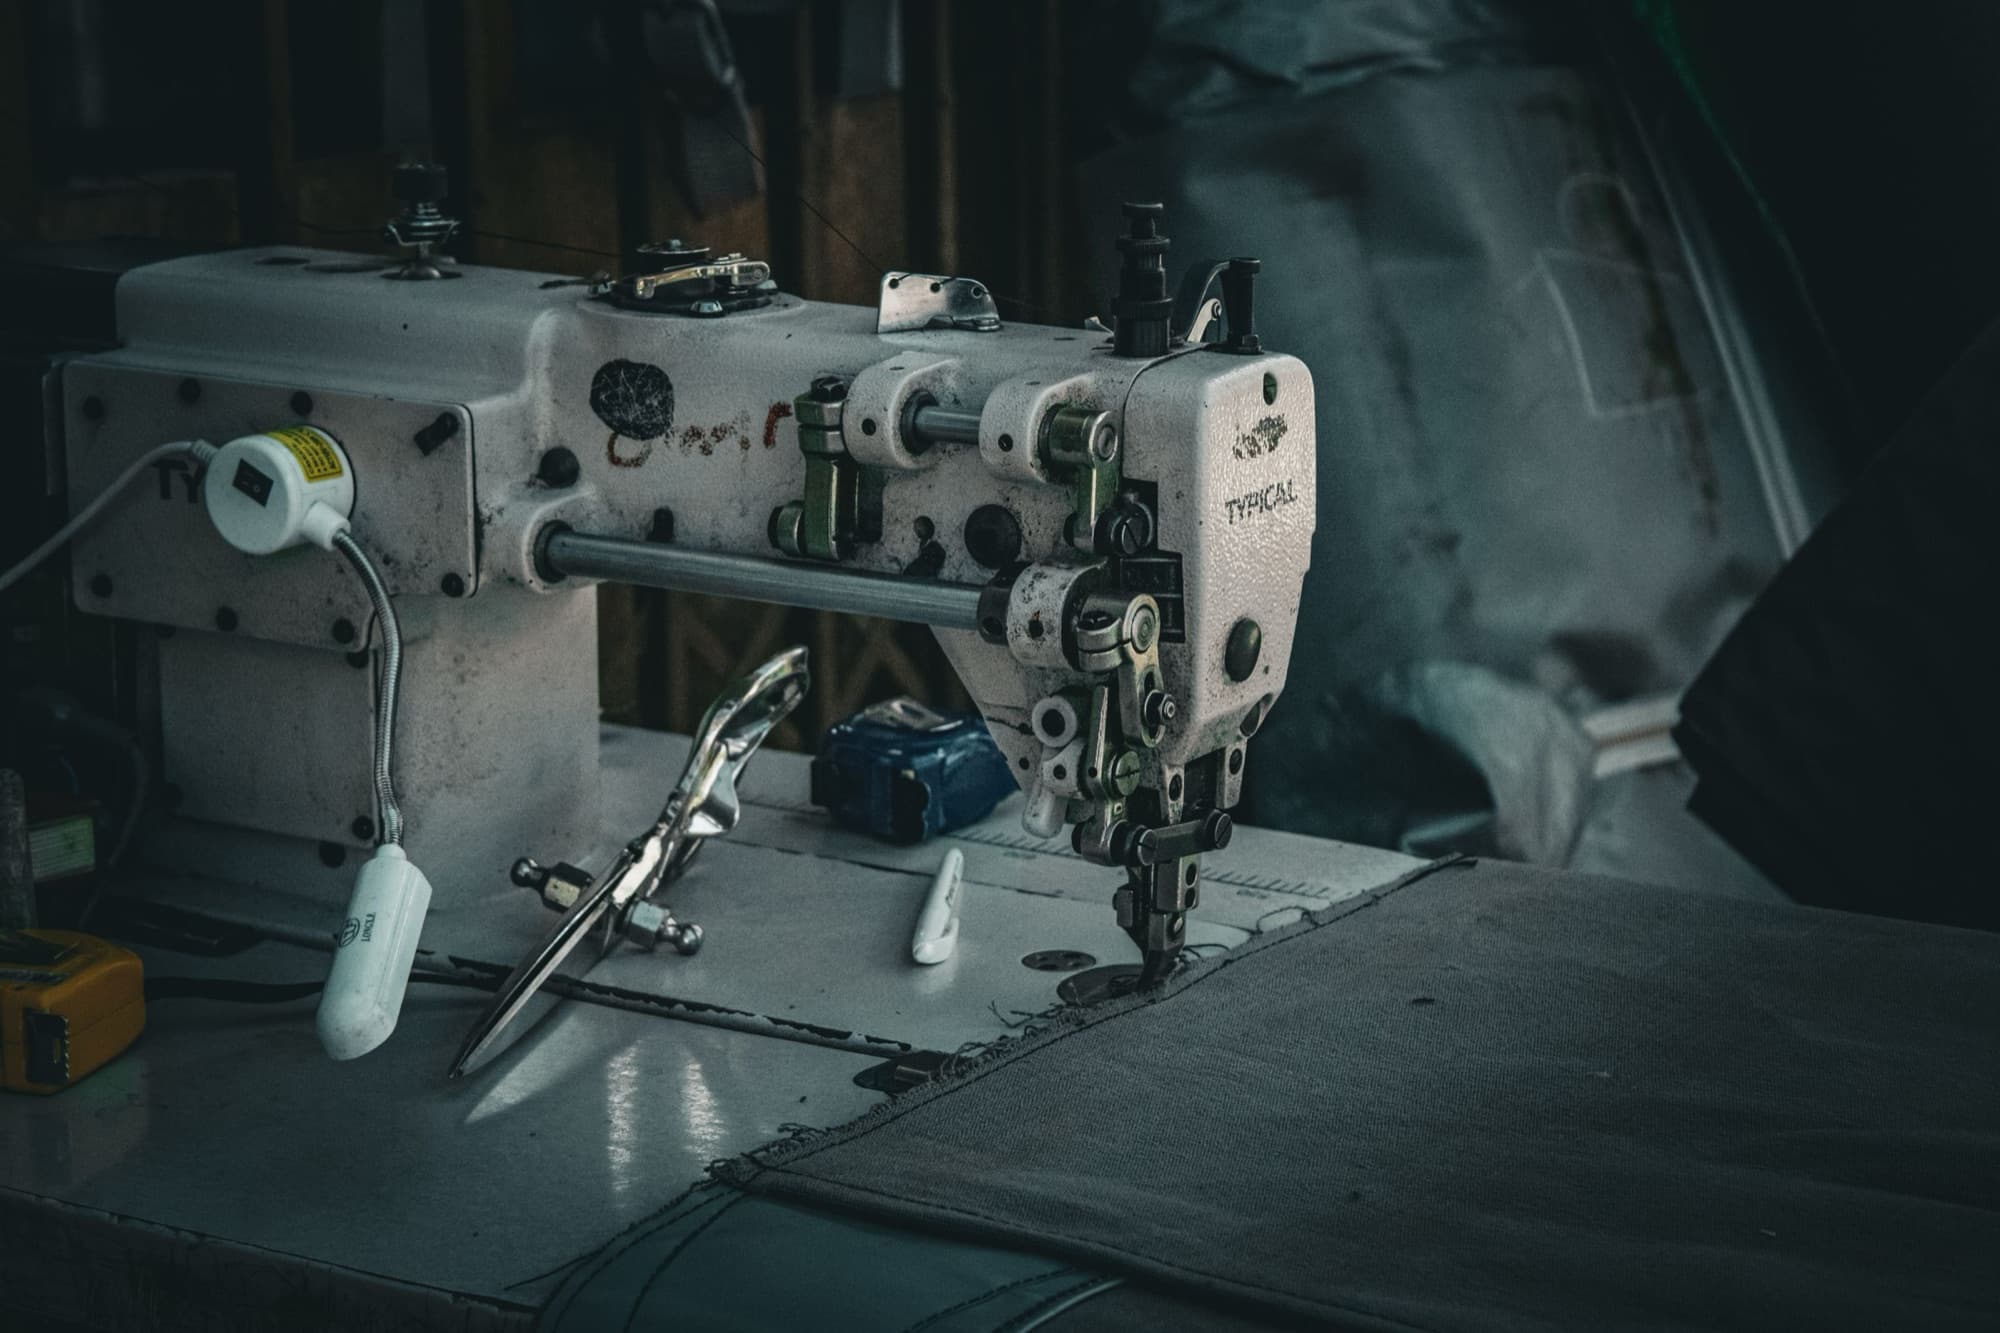
Start from the finished size. Add 0.25–0.5 in (6–13 mm) of ease on covers and 0.375–0.5 in (10–13 mm) of seam allowance on each sewn edge to get the cut panel. Stitch at 6–10 stitches per inch, use Tex 70 thread on light fabric and Tex 135 on 1000D, bartack every strap end, and expect ±0.125–0.25 in (±3–6 mm) on sewn dimensions.
Measure flat and relaxed at named points; tolerance ±0.125–0.25 in (±3–6 mm)
These build on the short list on the soft goods process page, with the failure each rule prevents and a drawing for each.
How big should the cut panel be?
Enter a finished size, then add ease and seam allowance to see the cut panel size and how a small error on each seam stacks up across a sewn part.
FINISHED 24.375 IN · 1 PANEL · CUT 25.375 IN EACH
Start from
Equipment width
24 in
24 in
Ease
0.375 in
0.375 in
Seam allowance
0.500 in
0.500 in
Panels across the width
1
1
Finished width
24.375 in(619 mm)
Cut panel width
25.375 in(645 mm)
Fabric across the width
25.38 in
Seam stack, worst case
±0.250 in
Seam stack, RSS
±0.125 invs ±0.25 typical
Works: fits, and the seams hold
Each panel is cut 25.375 in wide and sews to 24.375 in finished, within typical tolerance.
Typical values: ±1/16 in of seam-allowance variation per sewn edge, and ±0.25 in on finished dimensions over about 24 in. Fabric shrink and stretch are extra; test-sew a sample.
Why does each rule matter?
Each rule with its typical value, the reason behind it and what happens on the floor when it's ignored. Switch any drawing between Do and Avoid; point at a callout to pick it out.
Rule 01
Add ease to covers
0.25–0.5 in (6–13 mm) over the equipment dimensions
Why
Covers must slide over the part and absorb sewing tolerance. Stiff coated fabrics need the upper end.
If you ignore it
Covers that match the equipment exactly will not go on, and a whole lot is recut.
Rule 02
Allow enough seam allowance
0.375–0.5 in (10–13 mm) per sewn edge; 0.625 in (16 mm) on loosely woven fabric
Why
The allowance holds the stitch line away from the raw edge. Too little frays out, and too much adds bulk and fabric.
If you ignore it
Seams pull out at the raw edge under load, and the product fails at the seam in the field.
Fig. 1Seam allowance
Do. A 3/8–1/2 in (10–13 mm) allowance leaves enough fabric beyond the stitches for the weave to hold under load and wash.
Avoid. Stitch too close to the raw edge and the yarns slip out from under the stitching: the seam frays open.
Rule 03
Cut load-bearing panels on grain
Main load along the warp (roll length); avoid bias cuts on load-bearing panels
Why
Woven fabric is strongest and stretches least along the warp. On the bias it stretches and distorts.
If you ignore it
Panels stretch out of shape and finished dimensions drift beyond ±0.25 in (±6 mm).
Rule 04
Fit panels within the roll width
Usable width about 58 in (1.47 m) on a 60 in (1.5 m) roll
Why
Selvages are trimmed off, and panels wider than the roll need a seam. Nesting sets fabric yield.
If you ignore it
An extra seam is added to every part, or yield drops and fabric cost climbs.
Rule 05
Set stitch density
6–10 stitches per inch (about 2.5–4 per cm); lower end on coated fabric
Why
Too few stitches weaken the seam, and too many perforate the fabric like a tear line.
If you ignore it
Coated fabric tears along the needle holes, or loose stitches open under load.
Rule 06
Match thread to fabric
About Tex 70 for light fabrics; Tex 135 for heavy webbing and 1000D; bonded nylon or polyester
Why
Thread should fail after the fabric, not before, but heavy thread in light fabric puckers the seam.
If you ignore it
Seams break before the fabric, or puckered seams fail cosmetic inspection.
Rule 07
Set stitch-to-edge distance
Topstitch 0.0625–0.125 in (1.5–3 mm) from the fold; 0.25 in (6 mm) gauge on twin-needle seams
Why
A consistent distance keeps seams straight and gives each row enough fabric to grip.
If you ignore it
Stitches wander off the fold and rows too close to the edge pull through.
Rule 08
Reinforce load points
Bartack 0.375–1 in (10–25 mm) long, or a box-X, at every strap and handle end
Why
Handles and straps concentrate load at seam ends, where a single line of stitching unravels.
If you ignore it
Straps tear out at the first heavy lift, usually at the seam end.
Fig. 2Reinforcing load points
Do. A box-X stitch or bartack spreads a strap's load over many stitches and both directions of the weave.
Avoid. A single stitch line puts the whole load on one row of needle holes, which perforate the fabric and tear along the line.
Rule 09
Seal cut edges
Hot-cut nylon and polyester webbing; bind or overlock raw woven edges
Why
Synthetic webbing melts closed when hot cut. Woven fabric edges unravel unless bound, serged or laser cut.
If you ignore it
Webbing ends fray open and exposed edges unravel after a few uses.
Rule 10
Use standard hardware
Stock #5, #8 or #10 zippers and 1–2 in (25–50 mm) webbing, buckles and D-rings
Why
Stock hardware ships in days. Custom hardware adds minimum orders and weeks of lead time.
If you ignore it
A custom buckle or zipper pull adds a tooling charge and holds the whole program for its lead time.
Rule 11
Weld or tape waterproof seams
RF welding or seam tape; no needle holes on the wet side
Why
Every stitch hole is a leak path, even in fully coated fabric.
If you ignore it
Water wicks through the stitch line and the product fails a spray or immersion test.
Rule 12
Specify UV-resistant materials outdoors
UV-stabilized or solution-dyed polyester with polyester or PTFE thread
Why
Nylon fabric and thread lose strength faster in sunlight than polyester.
If you ignore it
Thread rots in one or two seasons and seams open while the fabric still looks sound.
Rule 13
Dimension the finished part
Measure flat and relaxed at named points; tolerance ±0.125–0.25 in (±3–6 mm)
Why
Fabric stretches and compresses, so a dimension means nothing without a measuring method.
If you ignore it
Supplier and receiving inspection measure differently and argue over lots that may be good.
What tolerances can soft goods hold?
Typical values for cut-and-sew products measured flat and relaxed. Tight values need die or laser cutting, sewing guides and jigs, or tighter AQL levels.
Typical and tight tolerances with the cost of going tight
Feature
Typical
Tight
Cost of tight
Finished sewn dimensionOver about 24 in (600 mm)
±0.25 in (±6 mm)
±0.125 in (±3 mm)
Moderate
Cut panel
±0.0625 in (±1.5 mm), knife cut
±0.03 in (±0.8 mm), die or laser cut
Low
Seam allowance
0.375–0.5 in ±0.0625 in
±0.03 in (±0.8 mm) with a guide
Low
Stitch distance from edge
±0.0625 in (±1.5 mm)
±0.03 in (±0.8 mm)
Low
Stitch density
Target ±1 stitch per inch
Target ±0.5 stitch per inch
Low
Hardware and strap locationTight values need a marking template or jig
±0.25 in (±6 mm)
±0.125 in (±3 mm)
Moderate
Webbing cut length
±0.125 in (±3 mm)
±0.0625 in (±1.5 mm)
Low
Inspection AQL, major / minor
2.5 / 4.0
1.5 / 2.5
Moderate
Basis: Finished-goods spec sheet practice; ANSI/ASQ Z1.4 sampling. Put a general tolerance note on the drawing and tighten only the features that need it; every tight callout is priced. See the tolerance guide.
How does the material change the rules?
The same soft goods rules shift with the alloy or compound.
Heavy and abrasion resistant, so it needs Tex 135 thread and heavy needles. Nylon loses strength in sunlight faster than polyester, so pair it with UV-resistant thread outdoors.
Common as low-cost webbing. It is light and water resistant, but degrades in sunlight and holds less load than nylon or polyester webbing of the same width.
Used as stiffener panels and inserts in bags and cases. Allow about 0.125 in (3 mm) clearance per side in the sleeve so the insert slides in after sewing.
What should a soft goods DFM check cover?
Run these against the model before it goes out for quote. The builder's DFM check catches most of them on an uploaded part.
What seam allowance should I use for industrial sewing?
Most bags, covers and cases use 0.375–0.5 in (10–13 mm) per sewn edge. Loosely woven fabrics that fray need about 0.625 in (16 mm), and bound or welded edges can run smaller. Keep one allowance across a product where possible, so operators set the guide once and cut panels stay consistent.
How much ease should a fabric cover have?
Add about 0.25–0.5 in (6–13 mm) to each equipment dimension so the cover slides on and absorbs sewing tolerance. Use the upper end on stiff vinyl-coated fabric and on covers pulled on by hand. Stretch materials such as neoprene can need little or no ease. Fit-check the first sample on the real equipment.
What is a bartack stitch?
A bartack is a dense zigzag stitch, typically 0.375–1 in (10–25 mm) long, sewn across a strap or seam end to lock it in place. It reinforces handles, belt loops, strap ends and zipper ends where load concentrates. For heavier loads, a box-X pattern spreads the force over a larger area of fabric.
What stitch density should I use for heavy fabric?
Use about 6–8 stitches per inch (2.5–3 per cm) on heavy and coated fabrics such as 1000D nylon and vinyl-coated polyester, and 8–10 on lighter fabrics. Too many stitches in coated fabric perforate it like a tear line. Too few leave loose stitches that snag and open under load.
What thread size should I use for Cordura?
Bonded nylon or polyester in about Tex 70–90 suits 500D and 600D fabrics. Use Tex 135 for 1000D Cordura and heavy webbing, with a needle sized to match. Choose polyester or PTFE thread for outdoor products, since nylon thread loses strength faster in sunlight.
How do you tolerance a sewn product?
Dimension the finished part at named measuring points, measured flat and relaxed, and allow about ±0.125–0.25 in (±3–6 mm) on sewn dimensions. Cut panels hold tighter, around ±0.03–0.06 in (±0.8–1.5 mm). Add hardware locations, stitch density and an AQL sampling plan such as 2.5 major and 4.0 minor.